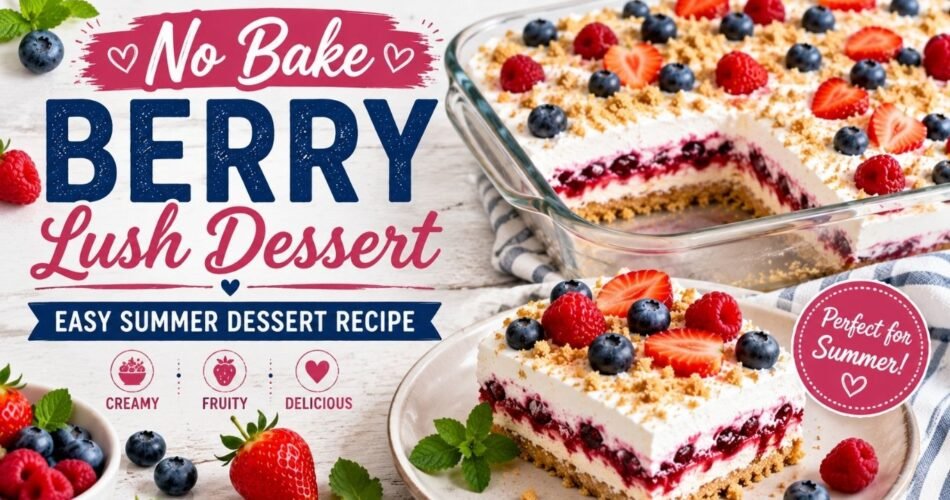
Last summer, I brought this dessert to a neighborhood cookout, and the pan came back completely empty. Not a single scrape left. My neighbor actually texted me at 10 PM asking for the recipe. That’s when I knew this no bake berry lush dessert had earned a permanent spot in my summer rotation.
I’ve been making layered desserts for over fifteen years, and I keep coming back to this one because it hits every mark. It’s creamy, fruity, crunchy, and cool — exactly what you want when it’s 95 degrees outside and the last thing you feel like doing is turning on the oven. If you’ve ever made a lush-style dessert before, you know how satisfying that first forkful is when you cut through all those layers.
This berry lush recipe takes about 20 minutes of hands-on work, and then your refrigerator does the rest. Whether you’re feeding a crowd at a Fourth of July party or just want something special for a Tuesday night, this easy summer dessert delivers every single time.
Let me walk you through everything — the ingredients, the technique, the shortcuts I’ve learned over the years, and the mistakes I made so you don’t have to.
Why You’ll Love This Recipe
I’m not going to give you a generic list of reasons here. These are the things that genuinely make this dessert stand out after making it dozens of times:
Zero oven time. This is a completely no bake dessert recipe, which means your kitchen stays cool and you don’t have to worry about anything burning, collapsing, or overbaking. That alone makes it worth trying during the summer months.
It feeds a crowd. One 9×13 pan gives you 12 to 15 generous servings. That’s real value when you’re hosting and don’t want to make three different desserts.
The texture combination is unreal. You get a buttery graham cracker crust on the bottom, a tangy cream cheese layer, a silky pudding layer, fresh berries, and whipped cream on top. Every bite has something different going on.
It actually gets better overnight. Unlike a lot of desserts that peak right when you make them, this layered berry dessert improves as it chills. The flavors meld, the crust softens just slightly, and everything settles into each other. I almost prefer it on day two.
Kids and adults both love it. I’ve served this to picky five-year-olds and to my mother-in-law who judges every dessert she eats. Both camps were happy.
Ingredients
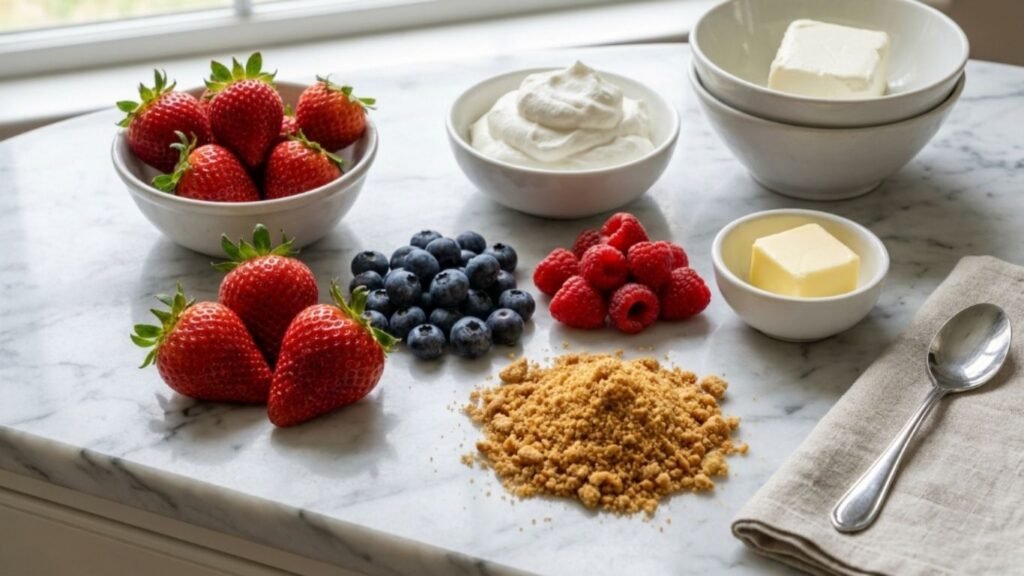
Here’s what you’ll need, along with substitutions I’ve actually tested — not just guesses.
Crust Layer
- 2 cups graham cracker crumbs (about 14 full sheets)
- ½ cup unsalted butter, melted
- 3 tablespoons granulated sugar
Cream Cheese Layer
- 8 ounces cream cheese, softened (full fat — this matters)
- 1 cup powdered sugar
- 1 cup heavy whipping cream
- 1 teaspoon pure vanilla extract
Pudding Layer
- 2 packages (3.4 oz each) instant vanilla pudding mix
- 3 cups whole milk, cold
Berry Layer
- 3 cups mixed fresh berries (strawberries, blueberries, raspberries, blackberries — use what looks best at the store)
Topping
- 1½ cups heavy whipping cream
- 3 tablespoons powdered sugar
- Additional fresh berries for garnish
Prep Time & Chill Time
- Prep Time: 20 minutes
- Chill Time: 4 hours minimum (overnight is best)
- Total Time: 4 hours 20 minutes
- Servings: 12–15
- Difficulty: Easy
Kitchen Tools You’ll Need
- 9×13 inch baking dish (glass lets you see the layers, which looks gorgeous)
- Electric hand mixer or stand mixer
- Two large mixing bowls
- Whisk
- Measuring cups and spoons
- Spatula or offset spatula for spreading
An offset spatula is genuinely worth the five dollars if you don’t own one. It makes spreading the cream cheese layer smooth and even without dragging the crust up. A regular spoon works in a pinch, but you’ll fight it the whole time.
Step-by-Step Instructions
Step 1: Make the Graham Cracker Crust
Combine the graham cracker crumbs, melted butter, and granulated sugar in a bowl. Stir until everything is evenly coated — it should look like wet sand.
Press the mixture firmly into the bottom of your 9×13 dish. Use the bottom of a flat measuring cup to really compact it down. You want a dense, even layer here because it’s the foundation for everything above it. A loose crust crumbles apart when you try to cut and serve slices.
Pop it in the refrigerator while you work on the next layers. Even ten minutes of chilling helps it firm up.
If you enjoy desserts with a cookie crust base, you might also love this Strawberry Cream Crunch Cake Recipe — it uses a similar crunchy-meets-creamy concept.
Step 2: Whip the Cream Cheese Layer
In a large bowl, beat the softened cream cheese with an electric mixer on medium speed until completely smooth. This should take about 2 minutes. Scrape down the sides of the bowl at least once.
Add the powdered sugar and vanilla extract. Beat again until combined.
In a separate bowl, whip 1 cup of heavy cream until stiff peaks form. You’ll know you’re there when you lift the beaters and the cream holds its shape without flopping over.
Gently fold the whipped cream into the cream cheese mixture using a spatula. Don’t stir aggressively — you want to keep as much air in there as possible. That air is what makes this cream cheese dessert layer light and mousse-like instead of dense and heavy.
Spread evenly over the chilled crust. Take your time here. An even layer means even bites later.
Step 3: Make the Pudding Layer
Whisk together the instant pudding mix and cold milk in a bowl. Whisk steadily for about 2 minutes until it starts to thicken.
Here’s a tip most recipes skip: let the pudding sit for 3 to 4 minutes before spreading it over the cream cheese layer. If you spread it immediately while it’s still liquid, it can seep into and muddy the cream cheese layer below. A few minutes of patience keeps your layers clean and distinct.
Carefully pour and spread the pudding over the cream cheese layer.
Step 4: Add the Fresh Berries
If you’re using strawberries, hull them and slice them into thin pieces. Blueberries, raspberries, and blackberries can go on whole.
Scatter the berries evenly across the pudding layer. I like to create a fairly dense single layer — don’t be stingy here. The berries are the star of this layered berry dessert, and you want fruit in every bite.
Pro tip: Gently press the berries down into the pudding just slightly. This helps anchor them so they don’t roll around when you add the whipped cream on top.
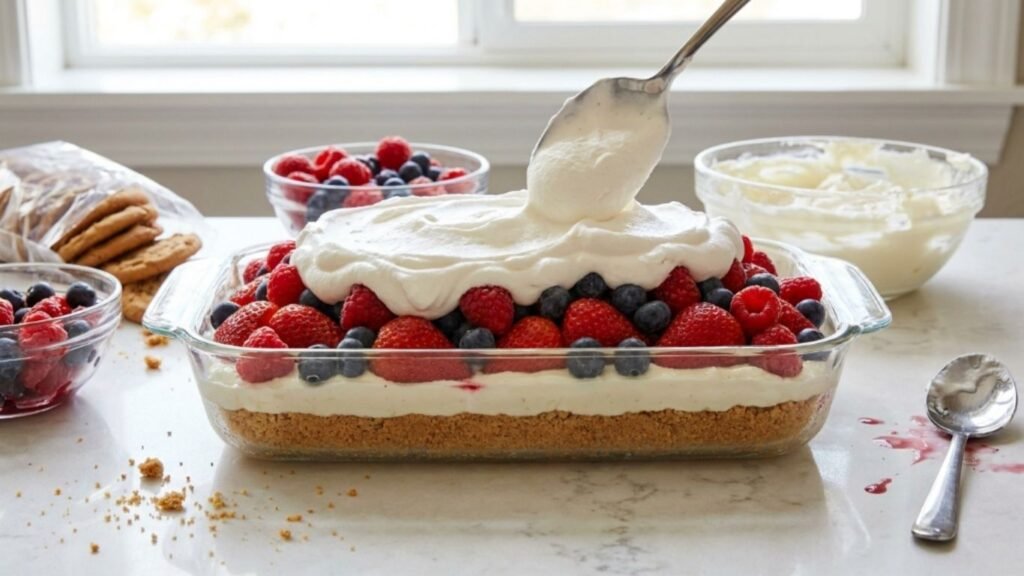
Step 5: Add the Whipped Cream Topping
Whip the remaining 1½ cups of heavy cream with 3 tablespoons of powdered sugar until stiff peaks form.
Spread it over the berries in big, pillowy swoops. You can make it perfectly smooth or leave it with a rustic, swoopy finish — both look beautiful.
Scatter a handful of fresh berries on top for garnish.
Step 6: Chill and Serve
Cover the dish with plastic wrap (try not to let it touch the whipped cream — I tent mine slightly using a couple of toothpicks at the edges) and refrigerate for at least 4 hours.
Overnight is my strong recommendation. The graham cracker crust absorbs just enough moisture to become tender while still holding its shape, and the flavors develop significantly.
When you’re ready to serve, cut into squares with a sharp knife. Wipe the blade between cuts for clean slices.
Expert Tips from Years of Making This Dessert
Chill your mixing bowl before whipping cream. Put your bowl and beaters in the freezer for 10 minutes beforehand. Cold equipment helps the cream whip faster and hold its structure better, especially on hot days.
Don’t skip the full-fat cream cheese. I’ve tried light cream cheese and Neufchâtel in this recipe. Both produced a softer, slightly grainy layer that didn’t hold up well when sliced. Full fat gives you a stable, velvety result.
Use cold milk for the pudding. Room temperature milk takes longer to set and can result in a thinner layer. Straight from the fridge is what you want.
Toast the graham cracker crumbs if you have an extra five minutes. Spread the crumbs on a sheet pan and toast at 350°F for 5 minutes. It adds a deeper, nuttier flavor to the crust. Obviously this means briefly using your oven, but it’s worth it if you don’t mind.
Layer order matters. I’ve experimented with putting the berries below the pudding and above the cream cheese. It works, but the berries release juice into the cream cheese layer over time and create pink streaks. Keeping the berries between the pudding and whipped cream gives you the cleanest presentation.
Common Mistakes to Avoid
Mistake #1: Using cream cheese straight from the fridge. I mentioned this earlier, but it bears repeating. Cold cream cheese will leave lumps in your dessert no matter how long you beat it. Set it out well ahead of time.
Mistake #2: Over-whipping the heavy cream. You want stiff peaks, not butter. Once the cream holds its shape, stop. Over-whipped cream takes on a grainy, slightly yellowish look and tastes greasy. If you accidentally go too far, fold in a couple tablespoons of fresh liquid cream to bring it back.
Mistake #3: Not pressing the crust firmly enough. A loosely packed crust falls apart the second you try to lift a slice out of the pan. Really lean into it. You want it compressed and solid.
Mistake #4: Adding warm or wet berries. If you’re using frozen berries, thaw them completely and pat them dry with paper towels. Excess moisture creates soggy pockets in the dessert. Fresh berries should be washed and dried thoroughly too.
Mistake #5: Cutting and serving too soon. I know it’s tempting. But this no bake berry lush dessert truly needs those four hours minimum. The layers need time to set and bond together. If you cut in at the two-hour mark, you’ll get a sloppy mess on the plate instead of clean, defined layers.
Variations to Try
Tropical Berry Lush
Swap the vanilla pudding for coconut cream pudding and use a combination of strawberries, mango chunks, and kiwi slices. Sprinkle toasted coconut flakes on top.
Chocolate Berry Lush
Use chocolate graham crackers for the crust and chocolate instant pudding instead of vanilla. The chocolate-berry combination is incredible — if you like rich chocolate desserts, you’d also enjoy this Berry Chantilly Cake Recipe which plays with similar flavors in a cake format.
Lemon Berry Lush
Replace the vanilla pudding with lemon instant pudding. The tartness of lemon with fresh raspberries is absolutely stunning and tastes lighter on warm days.
Oreo Berry Lush
Crush Oreos for the crust layer instead of graham crackers. This creates a cookies-and-cream base that contrasts beautifully with the fresh fruit. It reminds me a bit of Dirt Pudding Recipe — that same playful, crunchy-cookie-meets-creamy-pudding vibe.
Serving Suggestions
This is a standalone dessert that doesn’t need much, but here are a few ideas if you want to round out the experience:
- Drizzle with berry sauce. Simmer a cup of mixed berries with 2 tablespoons of sugar and a squeeze of lemon juice for 5 minutes, mash slightly, and strain. Drizzle over individual servings.
- Add a sprig of fresh mint. It sounds fussy, but the color contrast against the berries and white cream is genuinely beautiful.
- Pair with iced coffee or lemonade. This is a rich dessert, so something acidic or bitter to drink alongside it creates a nice balance.
- Serve at cookouts alongside frozen treats. If you’re putting together a full dessert spread, this pairs well next to something like a Rocky Road Ice Cream Recipe — the frozen ice cream and chilled lush give guests two different temperature experiences.
Storage & Freezing Tips
Refrigerator Storage
Cover tightly with plastic wrap or transfer slices to airtight containers. This dessert keeps well in the fridge for 3 to 4 days. After that, the berries start to break down and release too much juice.
Can You Freeze Berry Lush?
You can, but with a caveat. Freeze it before adding the fresh berry layer and whipped cream topping. The crust, cream cheese layer, and pudding layer freeze beautifully for up to 2 months.
When you’re ready to serve, thaw it in the refrigerator overnight, then add the fresh berries and whipped cream. Freezing berries directly in the dessert creates mushy, watery pockets when they thaw — not what you want.
Make-Ahead Strategy
This is one of the best make-ahead desserts you can have in your back pocket. Assemble everything the night before your event and let it chill overnight. Add the berry garnish on top right before serving for the freshest look.
Estimated Nutrition Information
Per serving (based on 12 servings):
| Nutrient | Amount |
|---|---|
| Calories | 380 |
| Total Fat | 24g |
| Saturated Fat | 14g |
| Cholesterol | 70mg |
| Sodium | 280mg |
| Total Carbohydrates | 38g |
| Dietary Fiber | 1.5g |
| Total Sugars | 27g |
| Protein | 4g |
These values are estimates based on the specific brands and measurements I use. Your results may vary depending on ingredient brands and substitutions.
Frequently Asked Questions
Can I make this berry lush dessert the day before?
Absolutely — and I actually recommend it. Making it a full day ahead gives the layers time to set properly and the flavors time to develop. Just add your garnish berries right before serving so they look fresh and vibrant.
What’s the best pudding flavor for berry lush?
Vanilla is the classic choice and what I use most often. It lets the berries shine without competing for attention. That said, cheesecake-flavored pudding is my second favorite — it amplifies the cream cheese layer and makes the whole dessert taste even more indulgent.
Can I use Cool Whip instead of homemade whipped cream?
Yes, it works. Use an 8-ounce tub of Cool Whip for the cream cheese layer (folded in instead of whipped cream) and another 8-ounce tub for the topping. The texture will be slightly different — a bit more stable but less fresh-tasting. For potlucks where the dessert might sit out for a while, Cool Whip actually holds up better than homemade whipped cream.
How do I keep the layers from mixing together?
Patience is the main answer. Let each layer firm up slightly before adding the next one. Specifically, let the pudding thicken for a few minutes before spreading, and use a gentle hand with your spatula. Dollop the pudding in small amounts across the surface and carefully spread outward rather than dumping it all in one spot.
Can I use a different crust?
Definitely. I’ve made this with Nilla wafer crumbs, shortbread cookie crumbs, and even pretzel crumbs (which add a salty-sweet element that’s surprisingly delicious). Any sturdy cookie crumb mixed with melted butter will work as a base.
Is this dessert gluten-free friendly?
It can be. Use gluten-free graham crackers for the crust (several brands make them now) and double-check that your pudding mix is certified gluten-free. The rest of the ingredients are naturally gluten-free.
How far in advance can I make this?
Up to 24 hours ahead is ideal. You can push it to 48 hours, but the crust starts getting quite soft by then and the berries may release more juice than you want. For the best experience, aim for the 12 to 24-hour sweet spot.
Key Takeaways
- This no bake berry lush dessert requires just 20 minutes of prep and no oven at all — perfect for hot weather.
- Full-fat, room-temperature cream cheese is non-negotiable for a smooth, stable cream cheese layer.
- Let the pudding thicken before spreading to keep layers clean and distinct.
- Overnight chilling produces the best flavor and texture.
- The recipe is endlessly customizable — swap pudding flavors, change the crust, or vary the berries based on what’s in season.
- It keeps well for 3–4 days refrigerated, and the base layers can be frozen for up to 2 months.
Conclusion
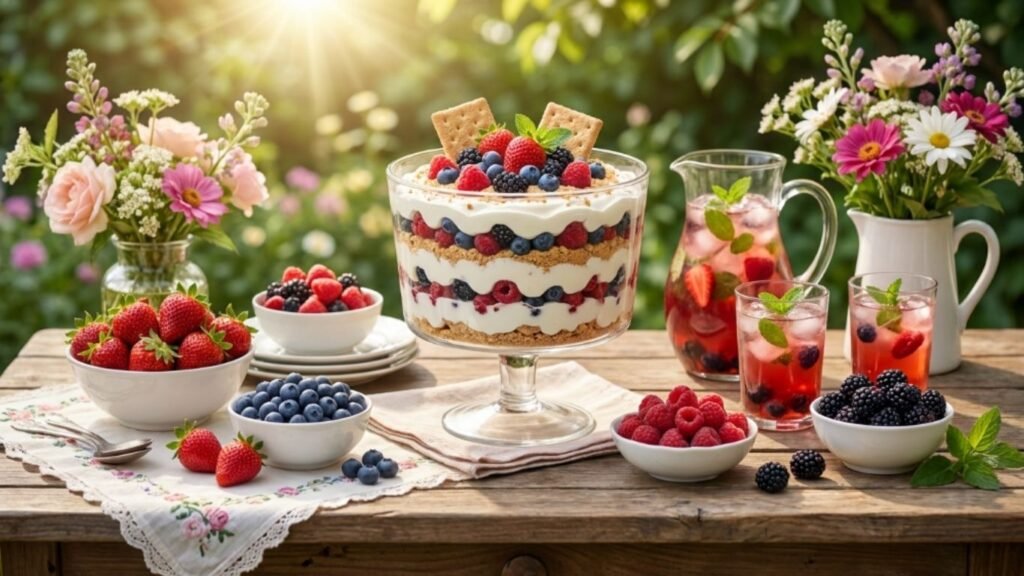
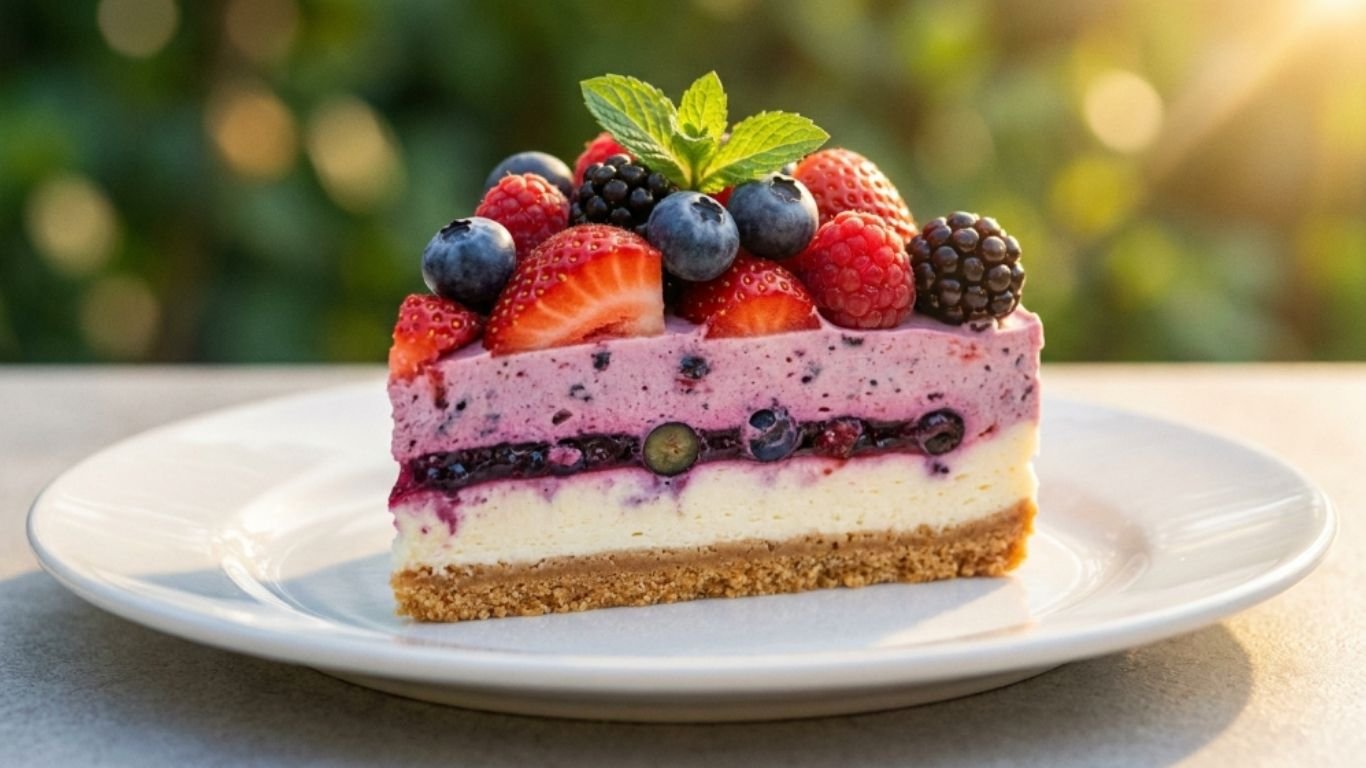
This no bake berry lush dessert is the kind of recipe that earns you a reputation. It looks impressive with those beautiful layers visible through a glass dish. It tastes like something from a bakery. And it takes less effort than most of the other desserts in your rotation.
I’ve made this for birthday parties, holiday cookouts, weeknight treats, and “just because” moments, and it never disappoints. The combination of that buttery graham cracker crust, tangy cream cheese layer, smooth vanilla pudding, fresh juicy berries, and billowy whipped cream — it’s summer on a plate.
If you’re looking for an easy summer dessert that comes together quickly, feeds a crowd, and tastes incredible, this is the one. Make it tonight, let it chill overnight, and thank me tomorrow when you take that first perfect bite.
No Bake Berry Lush Dessert
Ingredients
Method
- Combine the graham cracker crumbs, melted butter, and granulated sugar in a bowl. Stir until everything is evenly coated — it should look like wet sand.
- Press the mixture firmly into the bottom of your 9×13 dish. Use the bottom of a flat measuring cup to really compact it down. You want a dense, even layer here because it’s the foundation for everything above it. A loose crust crumbles apart when you try to cut and serve slices.
- Pop it in the refrigerator while you work on the next layers. Even ten minutes of chilling helps it firm up.
- If you enjoy desserts with a cookie crust base, you might also love this Strawberry Cream Crunch Cake Recipe — it uses a similar crunchy-meets-creamy concept.
- In a large bowl, beat the softened cream cheese with an electric mixer on medium speed until completely smooth. This should take about 2 minutes. Scrape down the sides of the bowl at least once.
- Add the powdered sugar and vanilla extract. Beat again until combined.
- In a separate bowl, whip 1 cup of heavy cream until stiff peaks form. You’ll know you’re there when you lift the beaters and the cream holds its shape without flopping over.
- Gently fold the whipped cream into the cream cheese mixture using a spatula. Don’t stir aggressively — you want to keep as much air in there as possible. That air is what makes this cream cheese dessert layer light and mousse-like instead of dense and heavy.
- Spread evenly over the chilled crust. Take your time here. An even layer means even bites later.
- Whisk together the instant pudding mix and cold milk in a bowl. Whisk steadily for about 2 minutes until it starts to thicken.
- Here’s a tip most recipes skip: let the pudding sit for 3 to 4 minutes before spreading it over the cream cheese layer. If you spread it immediately while it’s still liquid, it can seep into and muddy the cream cheese layer below. A few minutes of patience keeps your layers clean and distinct.
- Carefully pour and spread the pudding over the cream cheese layer.
- If you’re using strawberries, hull them and slice them into thin pieces. Blueberries, raspberries, and blackberries can go on whole.
- Scatter the berries evenly across the pudding layer. I like to create a fairly dense single layer — don’t be stingy here. The berries are the star of this layered berry dessert, and you want fruit in every bite.
- Pro tip: Gently press the berries down into the pudding just slightly. This helps anchor them so they don’t roll around when you add the whipped cream on top.
- Whip the remaining 1½ cups of heavy cream with 3 tablespoons of powdered sugar until stiff peaks form.
- Spread it over the berries in big, pillowy swoops. You can make it perfectly smooth or leave it with a rustic, swoopy finish — both look beautiful.
- Scatter a handful of fresh berries on top for garnish.
- Cover the dish with plastic wrap (try not to let it touch the whipped cream — I tent mine slightly using a couple of toothpicks at the edges) and refrigerate for at least 4 hours.
- Overnight is my strong recommendation. The graham cracker crust absorbs just enough moisture to become tender while still holding its shape, and the flavors develop significantly.
- When you’re ready to serve, cut into squares with a sharp knife. Wipe the blade between cuts for clean slices.