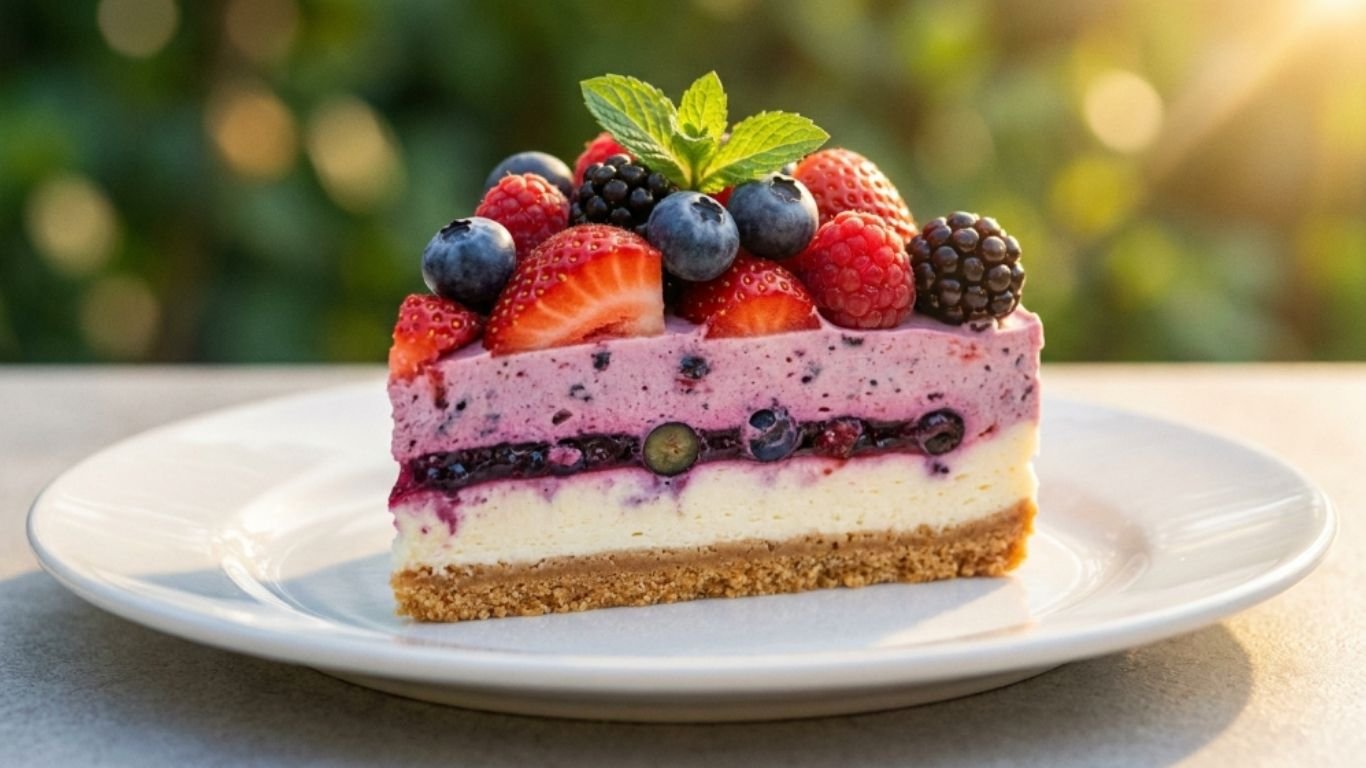
Ingredients
Method
Step 1: Make the Graham Cracker Crust
- Combine the graham cracker crumbs, melted butter, and granulated sugar in a bowl. Stir until everything is evenly coated — it should look like wet sand.
- Press the mixture firmly into the bottom of your 9×13 dish. Use the bottom of a flat measuring cup to really compact it down. You want a dense, even layer here because it’s the foundation for everything above it. A loose crust crumbles apart when you try to cut and serve slices.
- Pop it in the refrigerator while you work on the next layers. Even ten minutes of chilling helps it firm up.
- If you enjoy desserts with a cookie crust base, you might also love this Strawberry Cream Crunch Cake Recipe — it uses a similar crunchy-meets-creamy concept.
Step 2: Whip the Cream Cheese Layer
- In a large bowl, beat the softened cream cheese with an electric mixer on medium speed until completely smooth. This should take about 2 minutes. Scrape down the sides of the bowl at least once.
- Add the powdered sugar and vanilla extract. Beat again until combined.
- In a separate bowl, whip 1 cup of heavy cream until stiff peaks form. You’ll know you’re there when you lift the beaters and the cream holds its shape without flopping over.
- Gently fold the whipped cream into the cream cheese mixture using a spatula. Don’t stir aggressively — you want to keep as much air in there as possible. That air is what makes this cream cheese dessert layer light and mousse-like instead of dense and heavy.
- Spread evenly over the chilled crust. Take your time here. An even layer means even bites later.
Step 3: Make the Pudding Layer
- Whisk together the instant pudding mix and cold milk in a bowl. Whisk steadily for about 2 minutes until it starts to thicken.
- Here’s a tip most recipes skip: let the pudding sit for 3 to 4 minutes before spreading it over the cream cheese layer. If you spread it immediately while it’s still liquid, it can seep into and muddy the cream cheese layer below. A few minutes of patience keeps your layers clean and distinct.
- Carefully pour and spread the pudding over the cream cheese layer.
Step 4: Add the Fresh Berries
- If you’re using strawberries, hull them and slice them into thin pieces. Blueberries, raspberries, and blackberries can go on whole.
- Scatter the berries evenly across the pudding layer. I like to create a fairly dense single layer — don’t be stingy here. The berries are the star of this layered berry dessert, and you want fruit in every bite.
- Pro tip: Gently press the berries down into the pudding just slightly. This helps anchor them so they don’t roll around when you add the whipped cream on top.
Step 5: Add the Whipped Cream Topping
- Whip the remaining 1½ cups of heavy cream with 3 tablespoons of powdered sugar until stiff peaks form.
- Spread it over the berries in big, pillowy swoops. You can make it perfectly smooth or leave it with a rustic, swoopy finish — both look beautiful.
- Scatter a handful of fresh berries on top for garnish.
Step 6: Chill and Serve
- Cover the dish with plastic wrap (try not to let it touch the whipped cream — I tent mine slightly using a couple of toothpicks at the edges) and refrigerate for at least 4 hours.
- Overnight is my strong recommendation. The graham cracker crust absorbs just enough moisture to become tender while still holding its shape, and the flavors develop significantly.
- When you’re ready to serve, cut into squares with a sharp knife. Wipe the blade between cuts for clean slices.